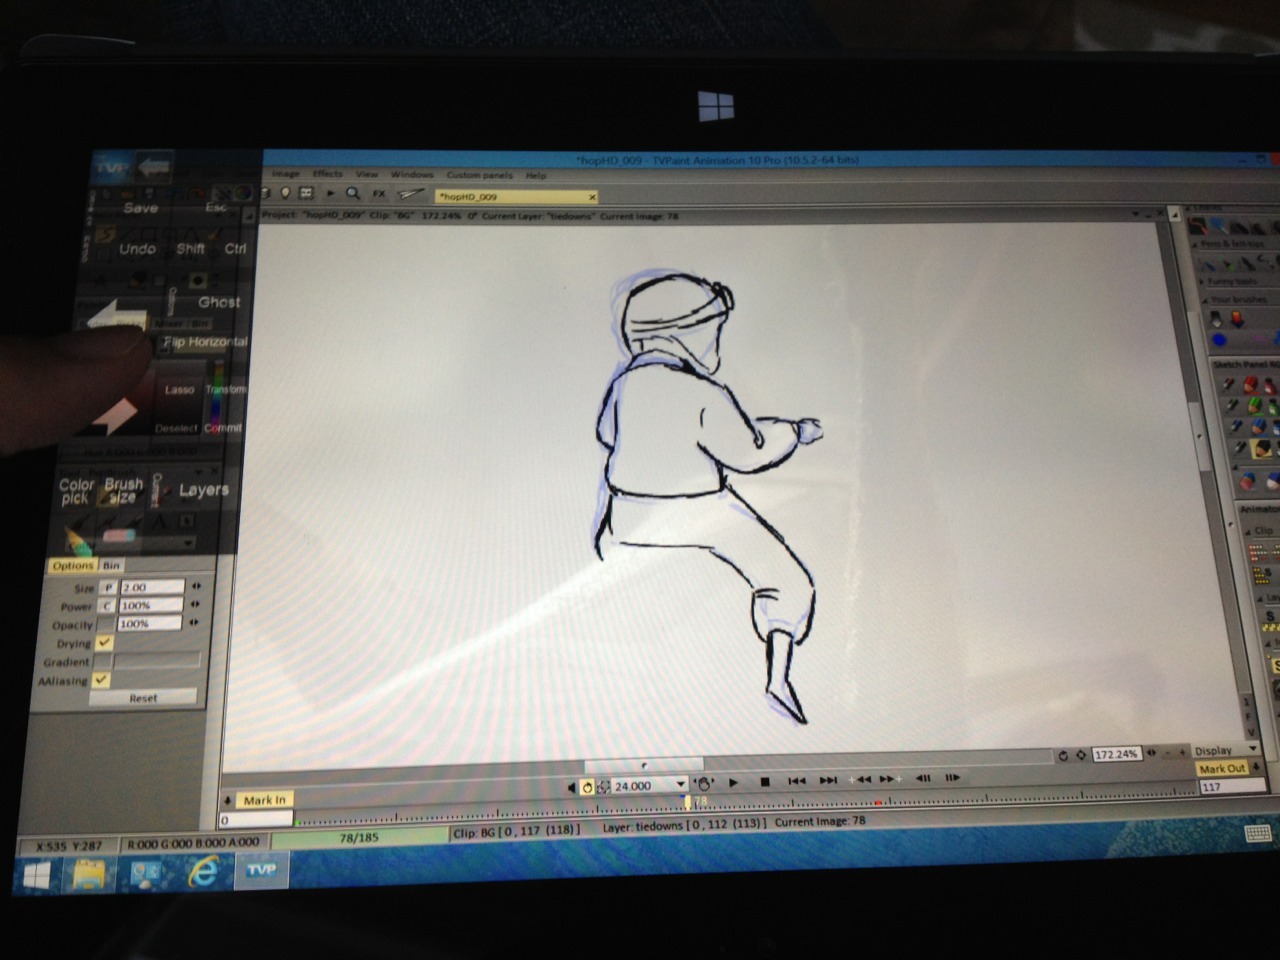
Main Color layer and Shadow-A layer… Done!
Next, I need to paint in the shadow-B layer that gets cast on grasshopper’s back.
It was fun experimenting with the different tools in TV Paint’s FX Stack to create the first part of the shadow. A couple people have asked how I’m making the shadow so here’s a brief breakdown…
There’s probably better ways to do this but here’s what was used if anyone is interested:

1) Duplicated the Color layer for the shadow shape.
2) "Perspective:4Points": Used this to flip the shape vertically and stretch the image across the ground. Also used the center point to re-register the shadow shape to the character.
3) "Color Adjust": Adjusted the brightness to turn the image black.
4) "Histogram": The black silhouette appeared slightly yellow against the BG plate. Used histogram to make the shadow slightly purple.
5) “Fade”: Used this to key the opacity to make the shadow semi-transparent.
6) "Center Blur": Used to blur the farthest edge of the shadow more while keeping the origin (foot contact) sharper.
7) "Gaussian Blur": Used to add overall blur especially when the character is farther from the ground (on the grasshopper).
One thing I’d like to figure out is to see if there’s a setting to make the semi-transparent artificial shadow not be additive, or darker, when overlapping the real shadow cast by the grasshopper.
