Page 1 of 2
Sharpen filter
Posted: 19 Oct 2009, 14:37
by Sewie
I would love to have a sharpen tool in TVP. A tool or maybe a filter in the FX stack.
So that after having repeatedly rotated or warped a custombrush I could somewhat restore the cripsness or sharpness of it.
Or is there already such a thing in TVP? I searched but did not find it....
Re: Sharpen filter
Posted: 19 Oct 2009, 14:41
by Fabrice
Just use "antialiasing = best" when rotating a brush.
Also there is a "sharpen mode" in several tools (airbrush, pencil, etc ...)
Re: Sharpen filter
Posted: 19 Oct 2009, 23:24
by Sewie
Just use "antialiasing = best" when rotating a brush.
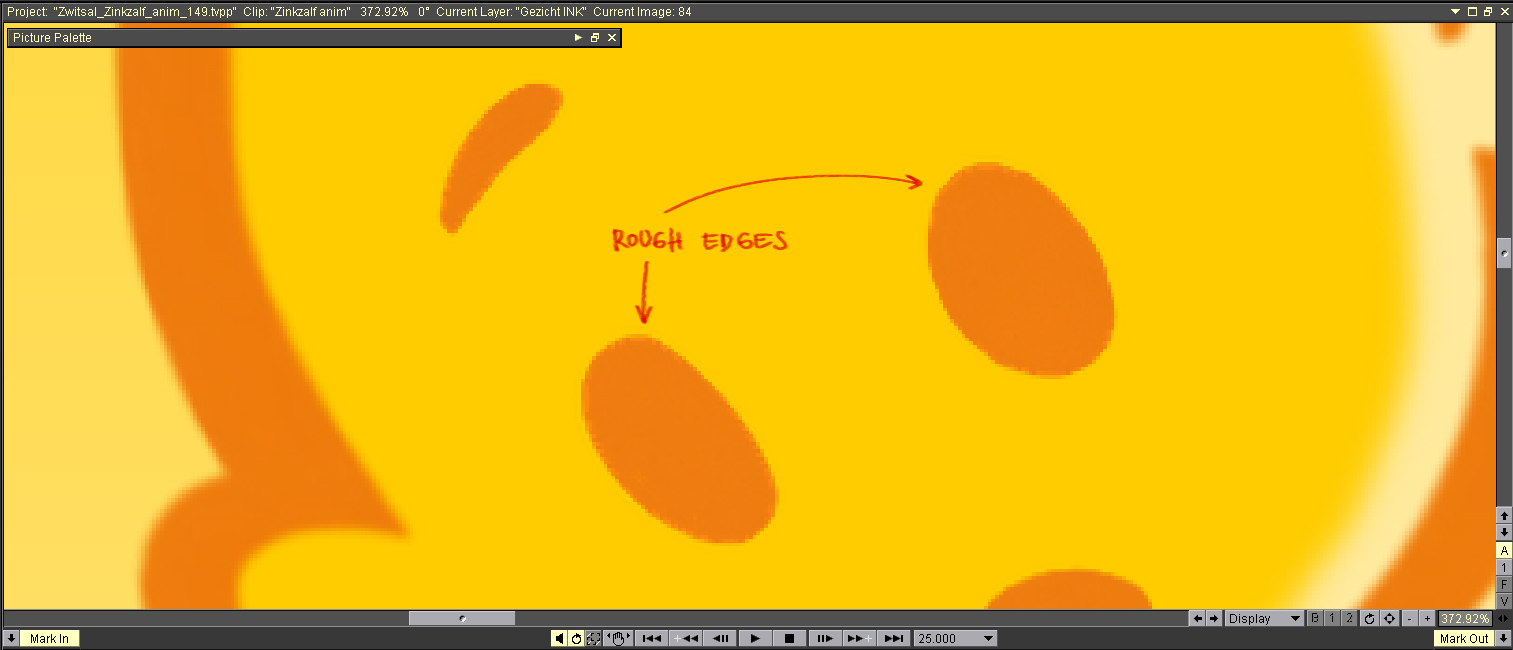
I usually do. But with this project I'm doing at the moment (a very graphic style) I get these strange rough edges when I use 'Best'.
Like these (you'll have to set your browser quite wide to see this image completely):

This is a subtle example. Sometimes it's more and it can look a bit rougher than this.
It is by no means a deal breaker to me, but it's annoying. (I'm working around this by animating on twice the resolution, then rendering it back and hoping that this roughness will get much less when it's in the proper resolution.
Also there is a "sharpen mode" in several tools (airbrush, pencil, etc ...)
Yes but I'm not sure that it works very well in this flat graphic style;
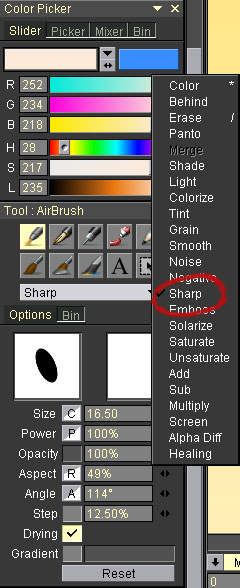
I've used this 'Sharp Mode':

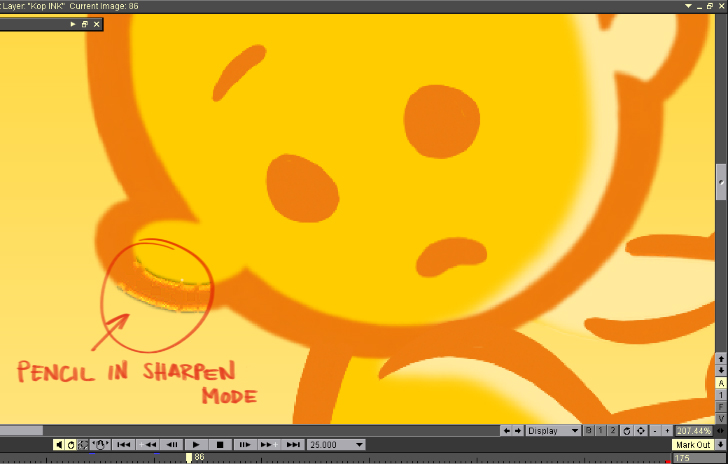
With a pencil I get this result:

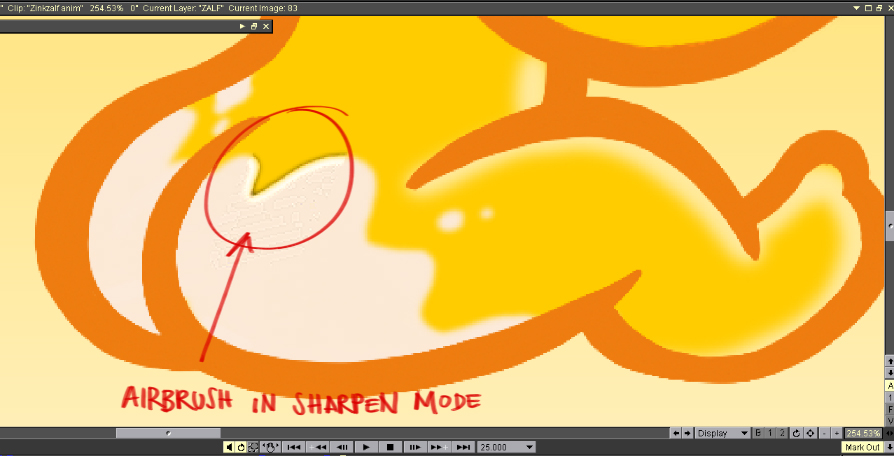
And with an airbrush I get this:

But I was looking for something more like this:

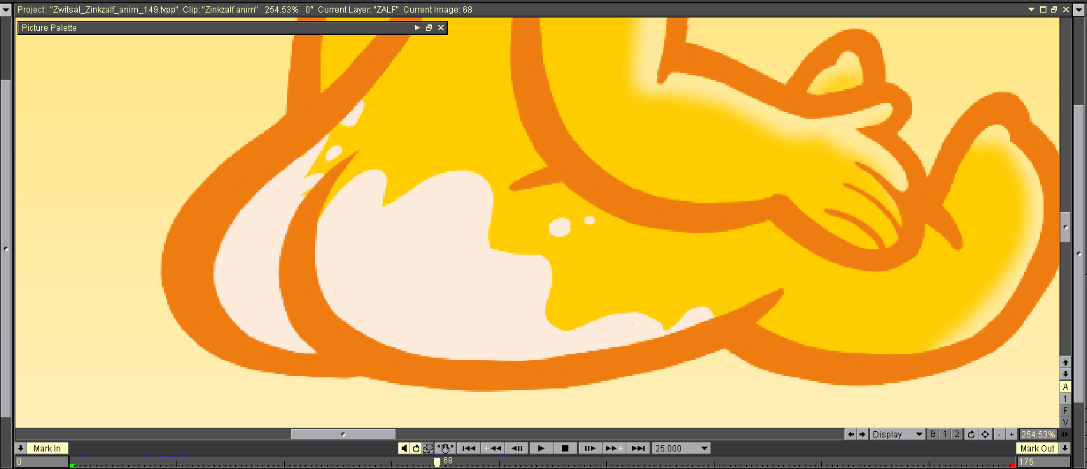
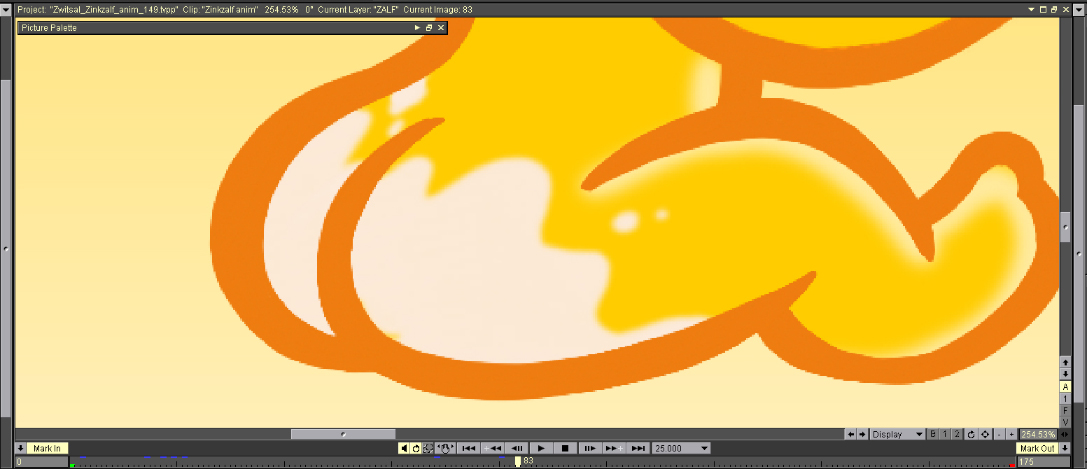
I've used the white stuff in the buttocks in the image above as a Custombrush (on a separate layer) that I rotated and shoved around and warped , etc, ect. I kind of abused it, I suppose, but I had to. So after a while it ended up looking like this:

You see, the white stuff gets somewhat unsharp. Which is understandable I think.
So I was looking for a way to get the edges a little sharper. Haven't found a satisfying way yet.
Sorry I can't show you the animation yet. I'm in the middle of it and the client hasn't seen it. But as soon as it's on air (it's for a TV commercial) I will
post it on this forum so you can see the results. And sorry for bombarding you with all these images but I just want to make myself completely clear. The best way to do that is by posting screenshots, I've found...
Re: Sharpen filter
Posted: 20 Oct 2009, 06:23
by KenC
I'd like an unsharp mask filter to, i used that all the time in photoshop. I paint a lot using different cut brushes which can tend to give muddy edges, a quick touch of unsharp mask here and there brings things back hard edges and keeps the image looking focused. I tried using the sharpen mode for the brushes but it doesn't quite work the same without threshold and radius parameters.
Isn't there a way to use gausian blur and difference blend mode to unsharp mask? I tried to remember how but it's been to long since I used that.
Re: Sharpen filter
Posted: 20 Oct 2009, 07:27
by malcooning
I personally avoid "best" AAliasing mode. It has some algorythmic problems which cause those lighter pixels just near the edges. And they are enhanced particularly if you sharpen them afterwards. I keep my CutBrushes at "Medium" AAliasing mode if I know I need to transform them.
As for the 'Sharp' drawing mode, I agree it's not giving good results. Not anything I would like to really use anyhow. But just for the sake of this option, try to to use the airbrush/pen/pencil at opacity lower than 10%. You'll have much better control over the result this way.
My workaround for dealing with CutBrush blurring is to work with higher resolution projects. The higher the resolution, the less such blurring will be noticeable (because the blurring occurs on edges, and the more pixels you have in the image, the less relative number of pixels will be employed for the Anti Aliasing). You can resize the whole project/clip to your desired resolution once you are done with it.
Re: Sharpen filter
Posted: 20 Oct 2009, 07:43
by Fabrice
And with an airbrush I get this:
It's because The power is set to 100% , try 5% or 10%.
You can also try the FX:
Blur > Median Blur > Edge Double it helps sometimes with low values.
Re: Sharpen filter
Posted: 20 Oct 2009, 08:02
by malcooning
KenC wrote:Isn't there a way to use gausian blur and difference blend mode to unsharp mask? I tried to remember how but it's been to long since I used that.
Never came across it in TVP, but there's
this technique for photoshop. TVP doesn't share the same blend modes with photoshop, so a different blend mode need be used instead of Hard Mix.
Re: Sharpen filter
Posted: 20 Oct 2009, 08:40
by KenC
Thanks, I'll have a go and see if I can come up with something that works in TVPaint.
Re: Sharpen filter
Posted: 20 Oct 2009, 08:45
by KenC
That technique is a little bit different, I found an example of the one I used way back here:
http://www.astropix.com/HTML/J_DIGIT/USM.HTM" onclick="window.open(this.href);return false;
I'm going to try both and see what happens, should be a fun exercise.
Re: Sharpen filter
Posted: 20 Oct 2009, 08:52
by Manuel
if you have the TVPaint pro version you can use the convolution FX.
try :
0 -1 0
-1 6 -1
0 -1 0
If the result is too hard, raise the center value to 8 ..12..16...
Re: Sharpen filter
Posted: 20 Oct 2009, 09:16
by KenC
Thanks I'll try that as well.
In the meantime, I messed around a bit and couldn't quite get the linked techniques to work but I found another that is passable.
Load an image.
Duplicate the layer.
Put this new layer (above the original) into grain extract blend mode.
Now you have a gray layer, gausian blur that by however much you want to sharpen. Blurring brings out the edges so now you have a mostly gray image where you can make out all the edges.
Edit/Clipboard/Copy image to clipboard.
Then edit/clipboard/New layer from clipboard.
Hide the layer you blurred before so only the original layer and the new layer from clipboard is visible.
Put the copy from clipboard layer into overlay mode.
Don't know how close to real unsharp mask this is, but it seems close.
Re: Sharpen filter
Posted: 20 Oct 2009, 11:34
by malcooning
Ken, this methods works very well. Quite impressive results.
I actually previously managed to get the gray image with edges on separate layer, but dropped the search before attempting different blend modes. You took this one step more and I'm glad so.
Now, this workflow is for a single image. For animation it is only slightly different:
1. Duplicate original layer
2. Change top layer blend mode to "Grain Extract"
3. Blur (gaussian) layer to reveal edges (value between 2-6) - make sure you select all frames before applying the blur
4. Copy the original layer (select it and press Ctrl+C, or whatever shortcut you have set for copy)
5. Merge all layers
6. Paste the copied layer (Ctrl+V, or whatever else), and move it below the grey (merged) layer.
7. Change the gray (merged) layer blend mode to "Overlay"
Re: Sharpen filter
Posted: 20 Oct 2009, 11:59
by KenC
Now that I think about it it's kinda looks like a highpass sharpen doesn't it?
Now all we need is to whip up a script and it's a one click deal.
I have a script for a single layer allmost done but I don't know the george command for changing the blend mode of a layer, it's not in my SDK reference.
Re: Sharpen filter
Posted: 20 Oct 2009, 12:16
by malcooning
not sure what's the script command for changing blend modes is, but you can set a shortcut to change to a specific layer blend mode in the custom button commands. maybe you can divide your script. 1st part until blend mode step. Then set a keystroke command to change blend mode (grain extract). Then next script part. Then keystroke command to change blend mode again (overlay).
Re: Sharpen filter
Posted: 20 Oct 2009, 12:35
by ZigOtto
KenC wrote:... I have a script for a single layer allmost done but I don't know the george command for changing the blend mode of a layer, it's not in my SDK reference.
afaik, I don't think we already have george commands to
Read and to Set the layer's blending mode ...
for the time being, we only have blending Mode selection commands in the shortkeys list for Custom Buttons .
