ebphoto wrote:I can't do on Standard ediction.. thanx always..
Then you are skipping a step or not applying the FX to all the frames. The KeyFramer in Standard Edition and in Pro Edition is the exact same tool. Your difficulty has nothing to do with yours being Standard edition.
Try this, following each step precisely:
1.) Create a New Project (File Menu -- NEW Project ) with dimensions 2560 wide x 480 high . Name that Project "BG Layer" .
2.) Now create another New Project with dimensions 640 w x 480 h . Name this project "Animation Layer" . (the BG Layer is
4 x 640 wide)
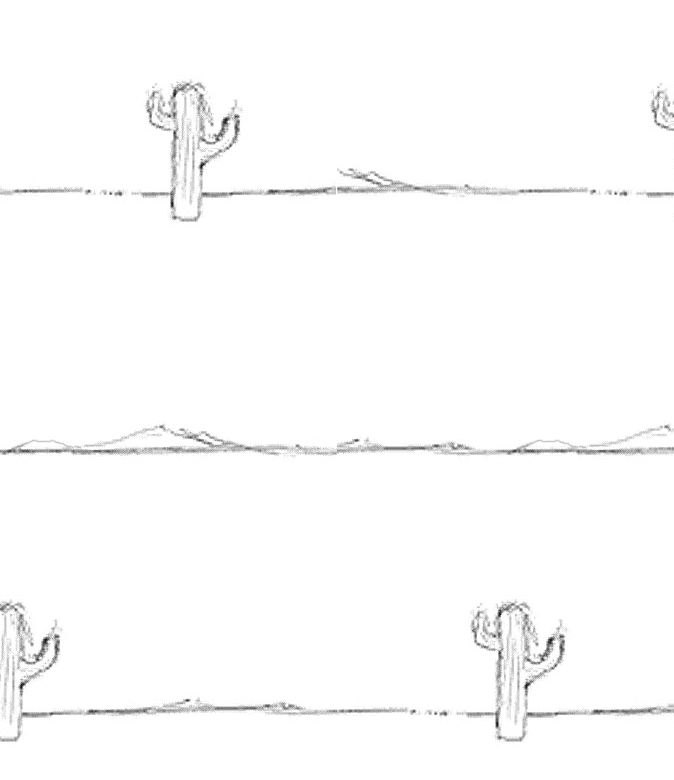
3.) Go back to the first project , BG Layer , and draw a simple BG across the entire width of the project This could be as simple as a horizon line and a cactus , like a cartoon desert scene :


Please notice that the Start Position (in blue field) and the End Position (red field) are identical . This would allow the BG to pan in a seamless loop if you needed to repeat it. If you do not need your BG to repeat then the Start and Ending positions do not need to match .
But the point here is just to make a simple BG layer in your 2560 x 480 project .
4.) Next return to the other project ("Animation Layer") and drag out the first frame to 72 frames (so your test pan scene will last for 3 seconds = 72 frames) Or right-click on the first frame and "Set Frame Repeat" = 72 frames.
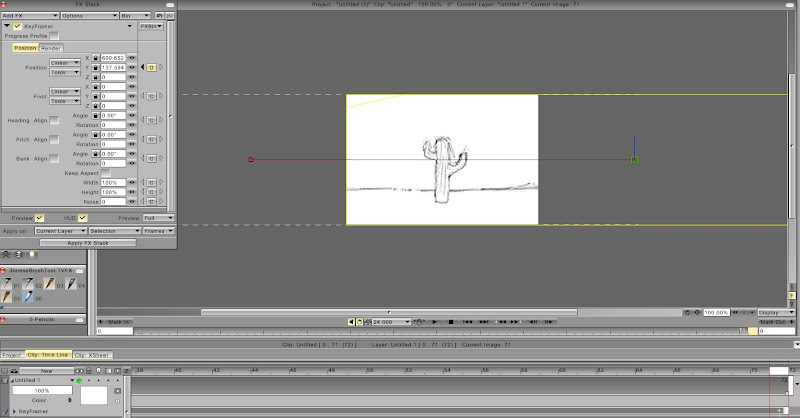
5.) Now staying within the "Animation Layer" project , go to the FX Stack --- Motion --- KeyFramer . Go to the RENDER tab and select the Source : click on Source --- scroll down to select from PROJECT LIST: select your other project "BG Layer" as the Source .
6.) Now return to the POSITION tab in the KeyFramer and drag the green handle in the middle of the frame to the left to set the Start Position. When you have the start position where you want it you must click on the
"C" button ("C" = "CREATE KEYFRAME") . You will notice when you click on the "C" button a
+ mark appears under the first frame on the timeline . You have now set the first keyframe.
Now move to the last frame (frame 72) on the timeline and drag the green handle to the right to set the End Position . Make sure that the keyframe has been set on frame 72 (you should see the little
+ mark under frame 72 :
 7.)
7.) At this point you may Preview the move if the preview button is checked in the FX Stack . Click the Play Button and watch the move. If the move looks like what you want then you must now
SELECT ALL frames on the timeline (Ctrl + A = Select All or you may select all frames by right-clicking on the timeline and from the menu Select All ) . With all frames selected (highlighted in yellow)

you must now click on
APPLY FX STACK .
After the FX stack finishes applying the keyframer effect you should be able to play back your movie and see the camera move.
The result would be something like this :

(playback may be choppy because of the embedded Gif frame rate. At 24fps this should be smooth. )
This is about the simplest possible pan move you could do . Much more complex moves are possible with the KeyFramer , but for now see if you can just do something like this to get your bearings with using the KeyFramer tool. Once you understand the process of working with a different Source layer for the BG and how to Set and Apply the Keyframes then you should be able to figure out more advanced moves by trial and error.
.


